Configure Google SSO with Frontline
Before we connect Google to your instance of Frontline, we need to build a few things in the Google Admin Console to make things run more smoothly.
To log in as a Frontline user, you must pass the roles attribute to Frontline in the SAML. We'll need to create this attribute ourselves.
- Navigate to theUser Schema page in your Google Admin Console.
- Click on ADD CUSTOM ATTRIBUTE
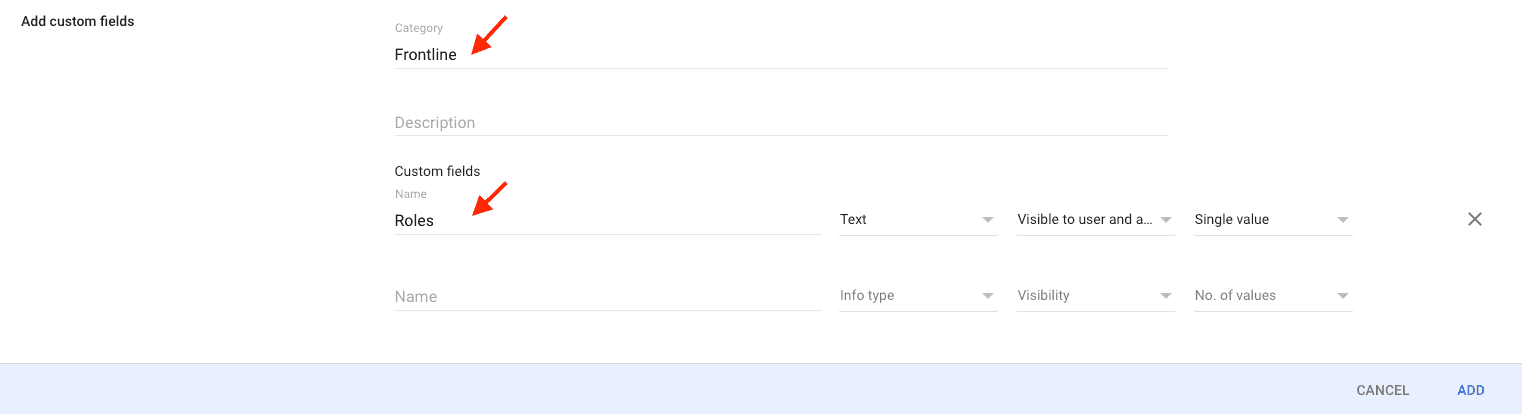
- In Category add Frontline
- Create the attribute below
- Click the Add button
| Name | Info Type | Visibility | No. of Value |
|---|---|---|---|
| Roles | Text | Visible to user and admin | Single value |
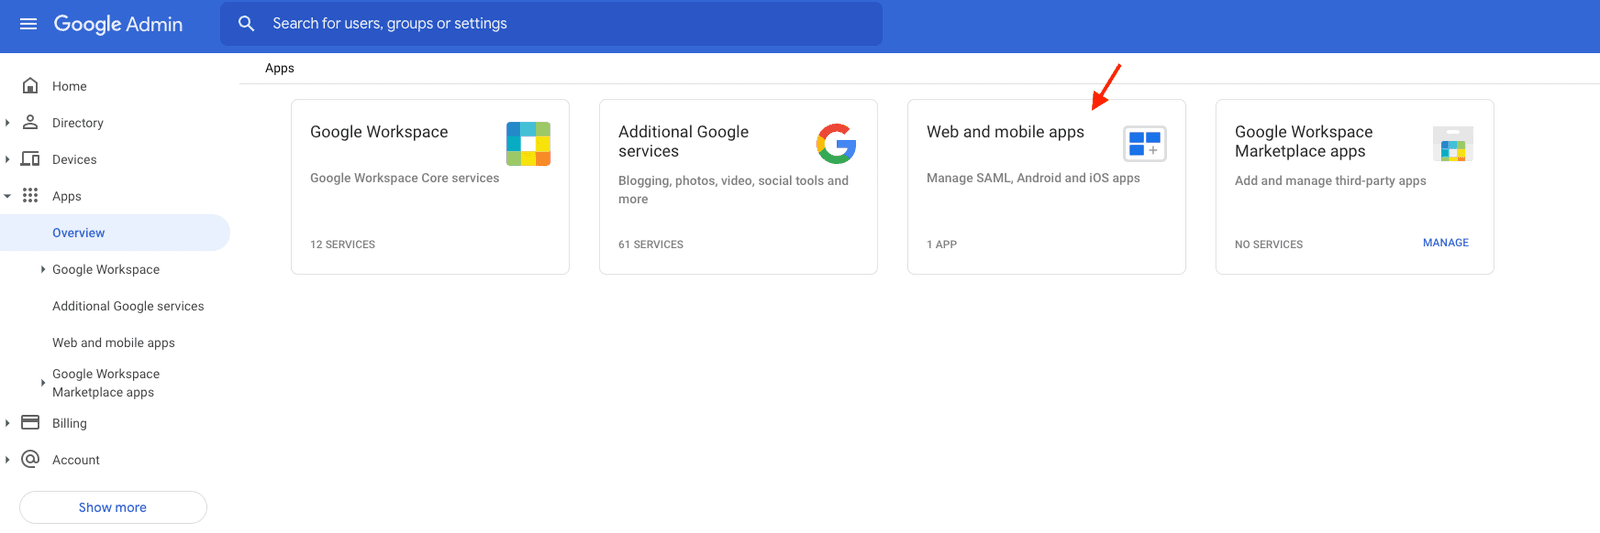
Navigate to the Google Admin Console, and click on Apps > Overview heading in the left sidebar. Then click on Web and mobile apps.
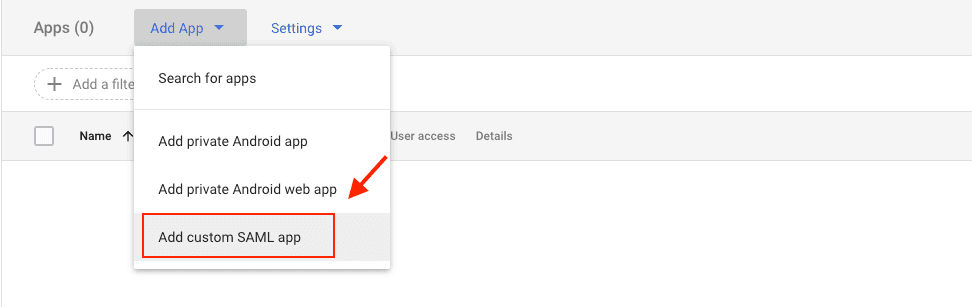
Click the Add App heading and in the dropdown select Add custom SAML app.
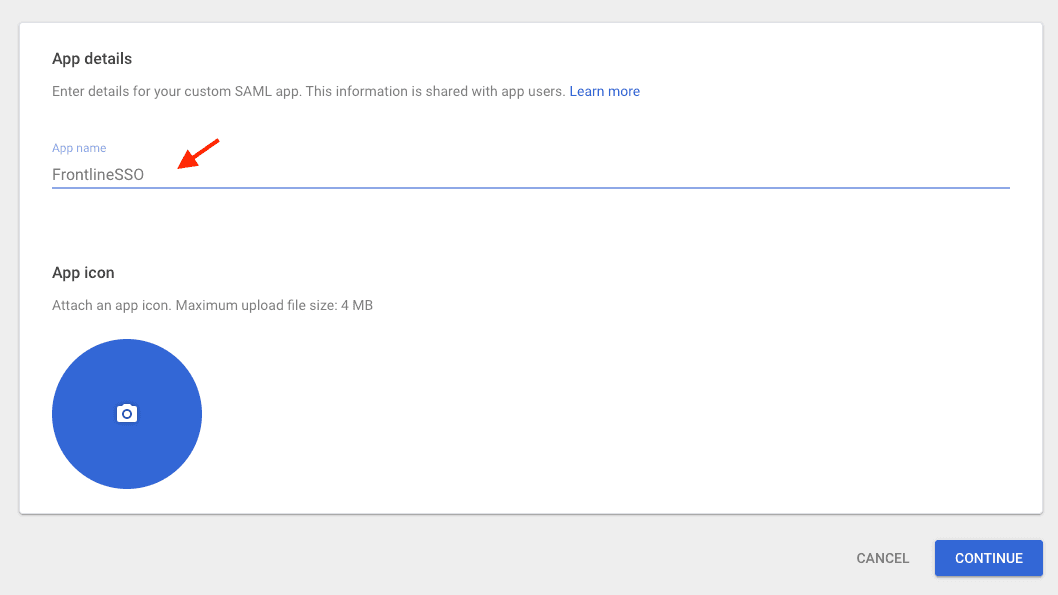
Set your App Name, for example this might be FrontlineSSO, or a name of your choosing. You might optionally add an icon, too. Click the Continue button.
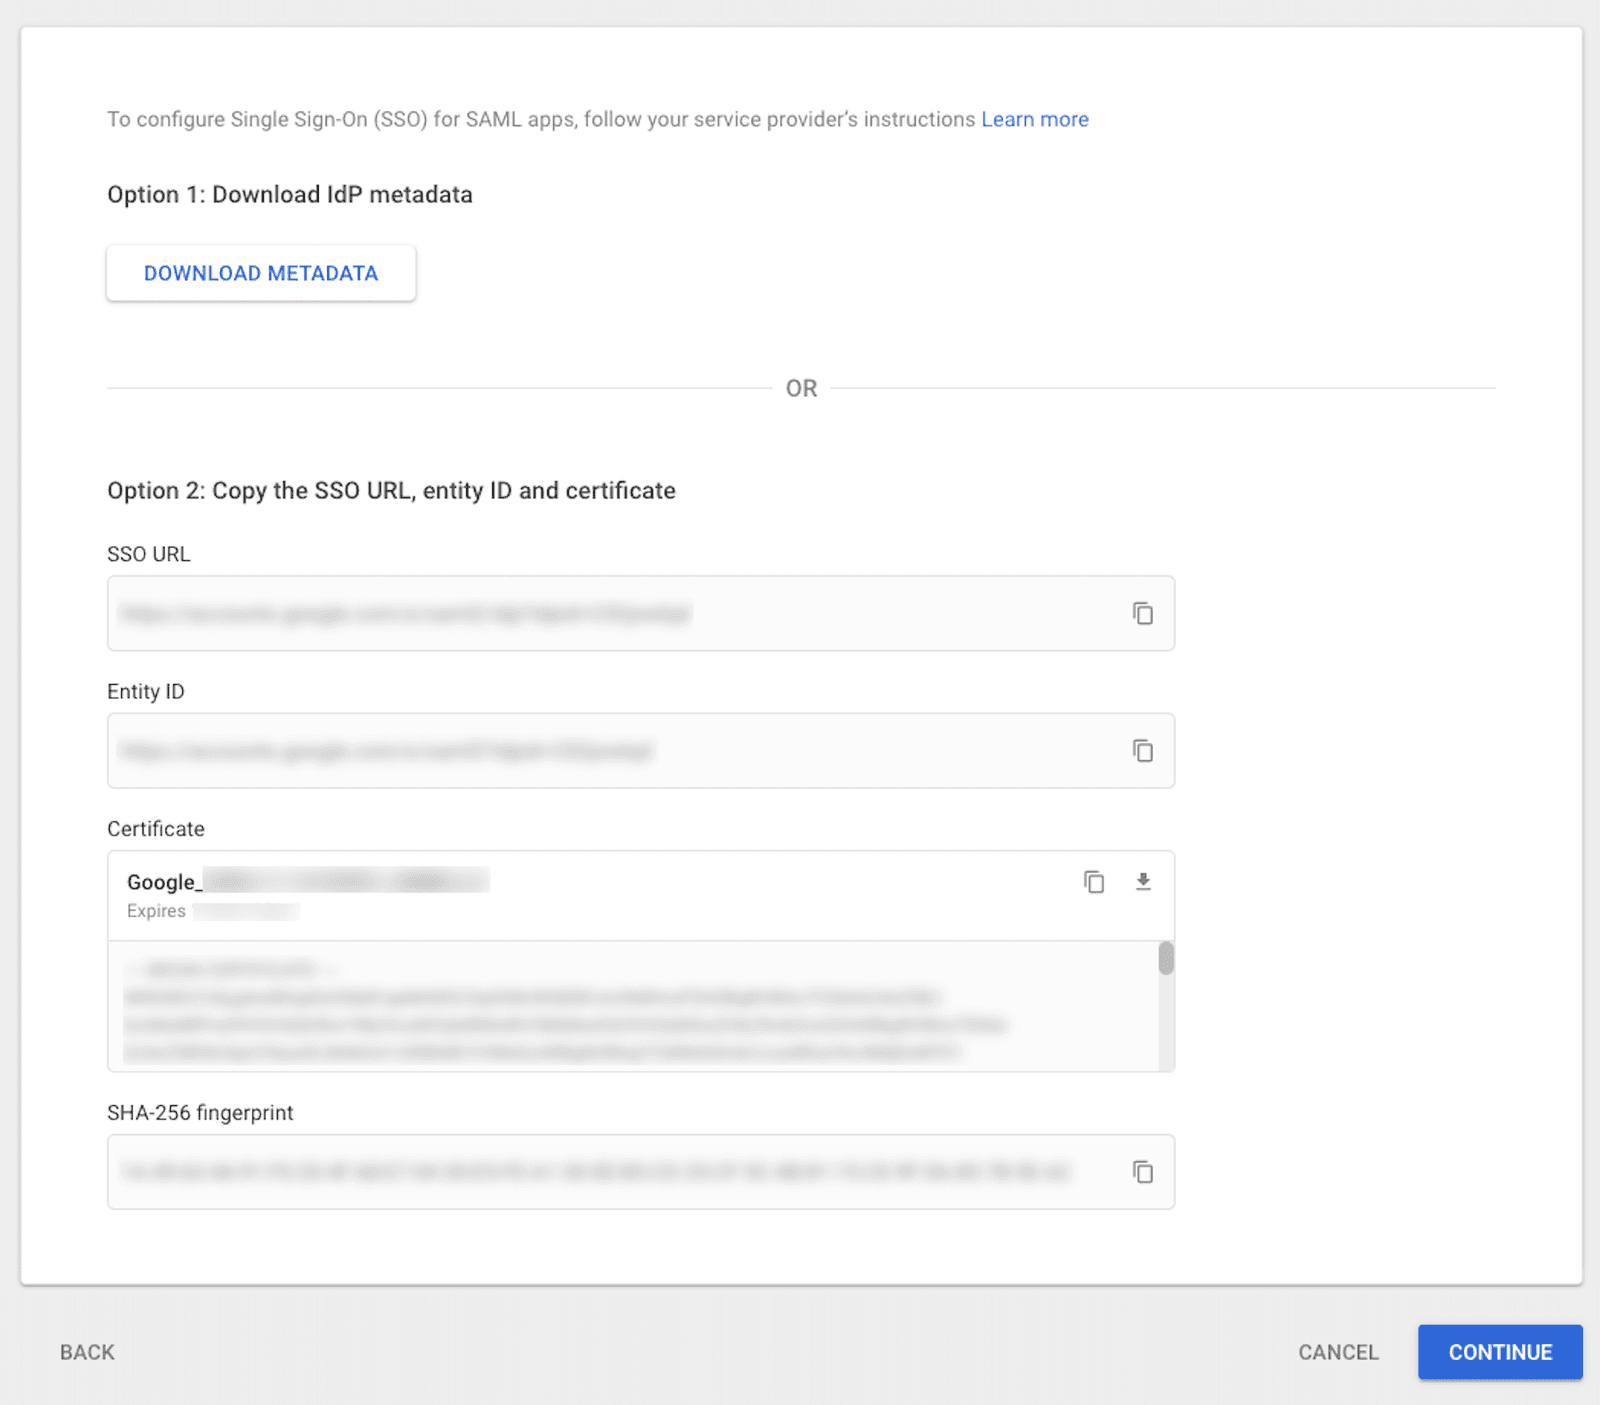
Make a note of the SSO URL, Entity ID and Certificate, you'll need this information later. Click on the Continue button.
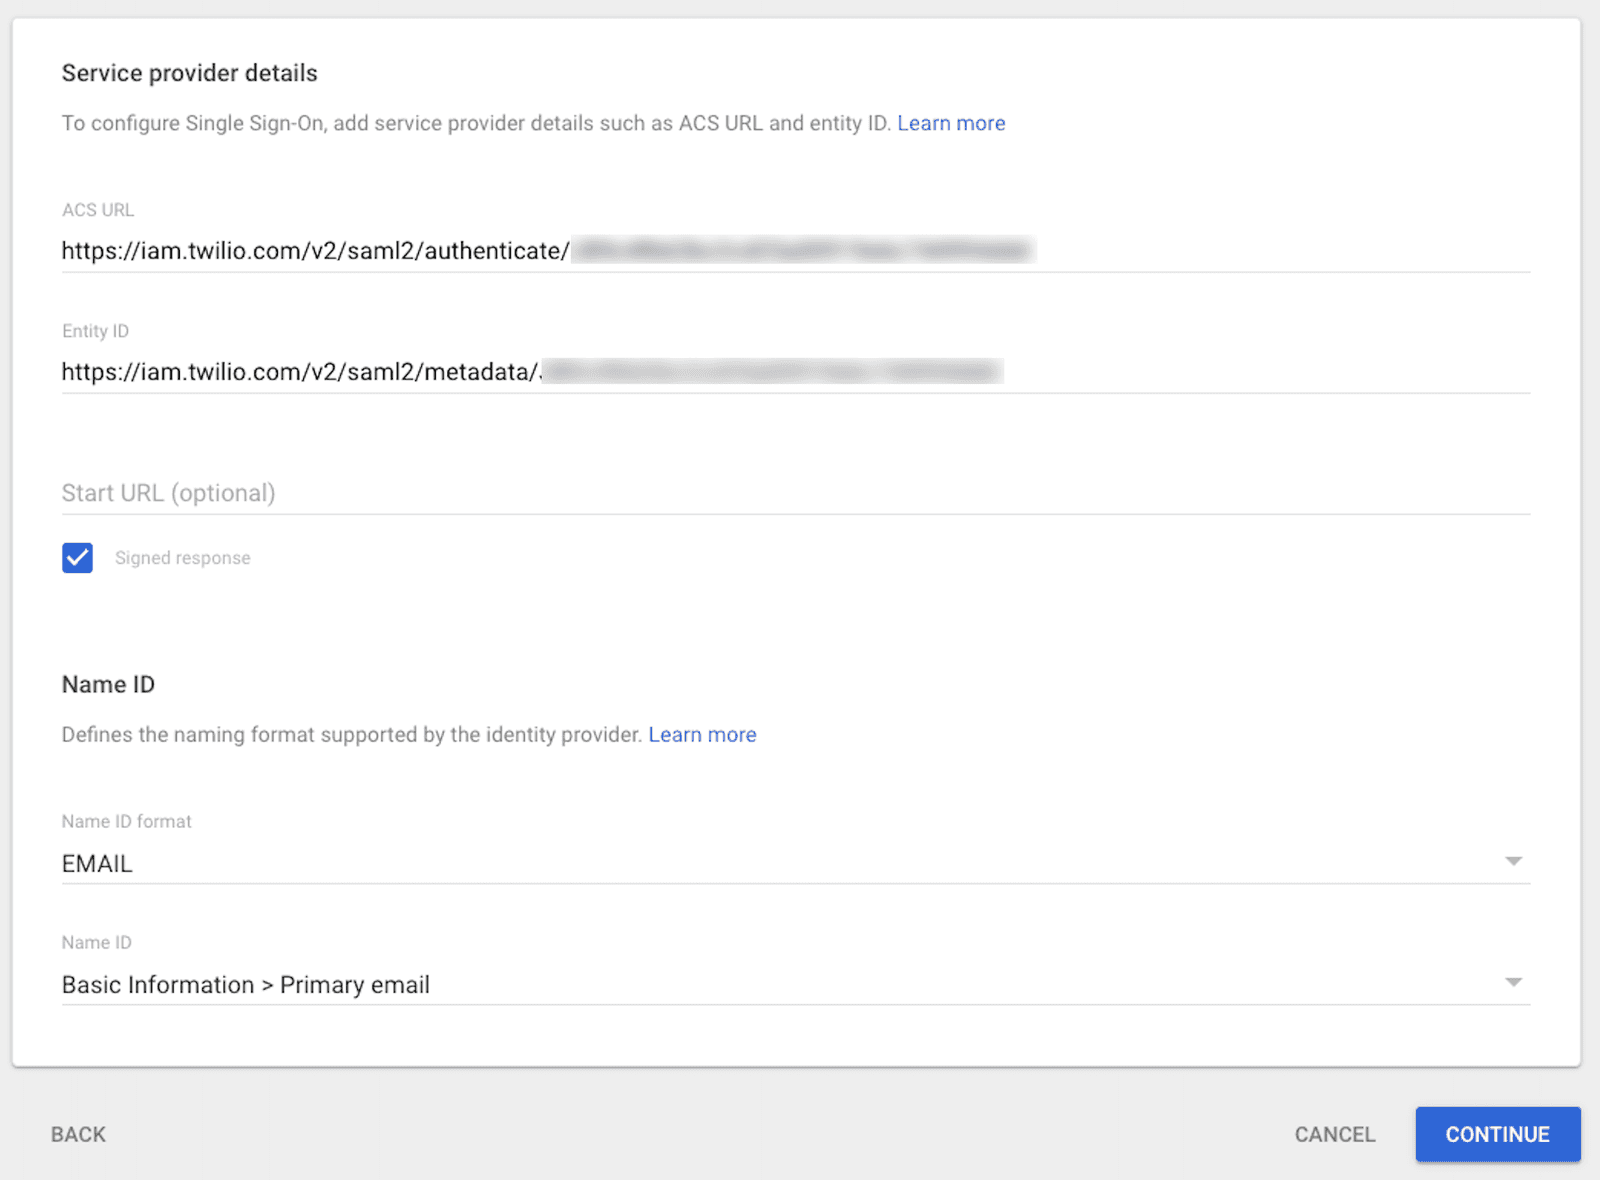
Next, we need to set up the Service Provider Details. Frontline is the Service Provider in this instance.
Set the ACS URL to https://iam.twilio.com/v2/saml2/authenticate/JBxxx and replace the example Realm SID (JBxxx), with your own Realm SID, which you can find on the Frontline Console SSO configuration page.
In the same way, set the Entity ID to https://iam.twilio.com/v2/saml2/metadata/JBxxx and replace the Realm SID (JBxxx) with your own Realm SID.
| Setting | Value |
|---|---|
| ACS URL | https://iam.twilio.com/v2/saml2/authenticate/JBxxx |
| Entity ID | https://iam.twilio.com/v2/saml2/metadata/JBxxx |
| Signed Response | Checked! |
| Name ID Format | |
| Name ID | Basic Information & Primary email |
Click the Continue button.
Now we need to add the attribute that will be passed from the SAML to Frontline. Create the required attribute (case sensitive) to pass to Frontline and map it to the appropriate field.
| Google directory attributes | App attributes |
|---|---|
| Frontline > Roles | roles |
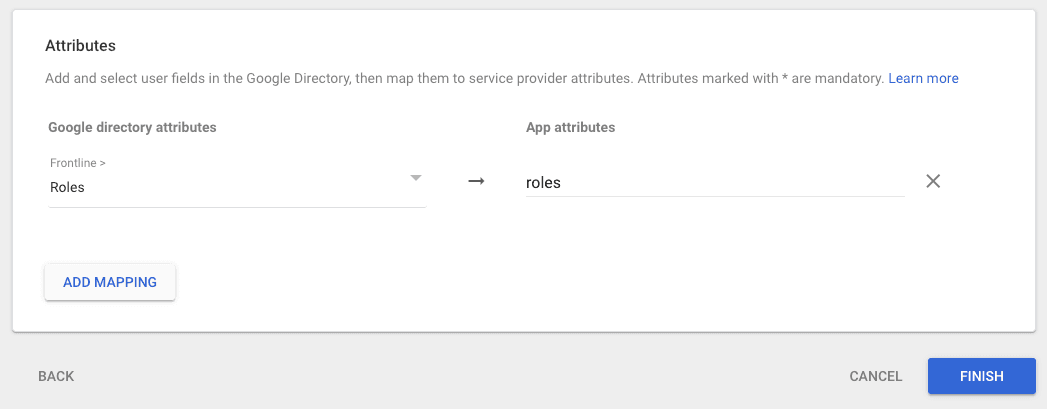
Click the Finish button.
Grab the URLs and Certificate you noted in the Google IdP Information section and configure SSO in the Frontline Console SSO configuration page.
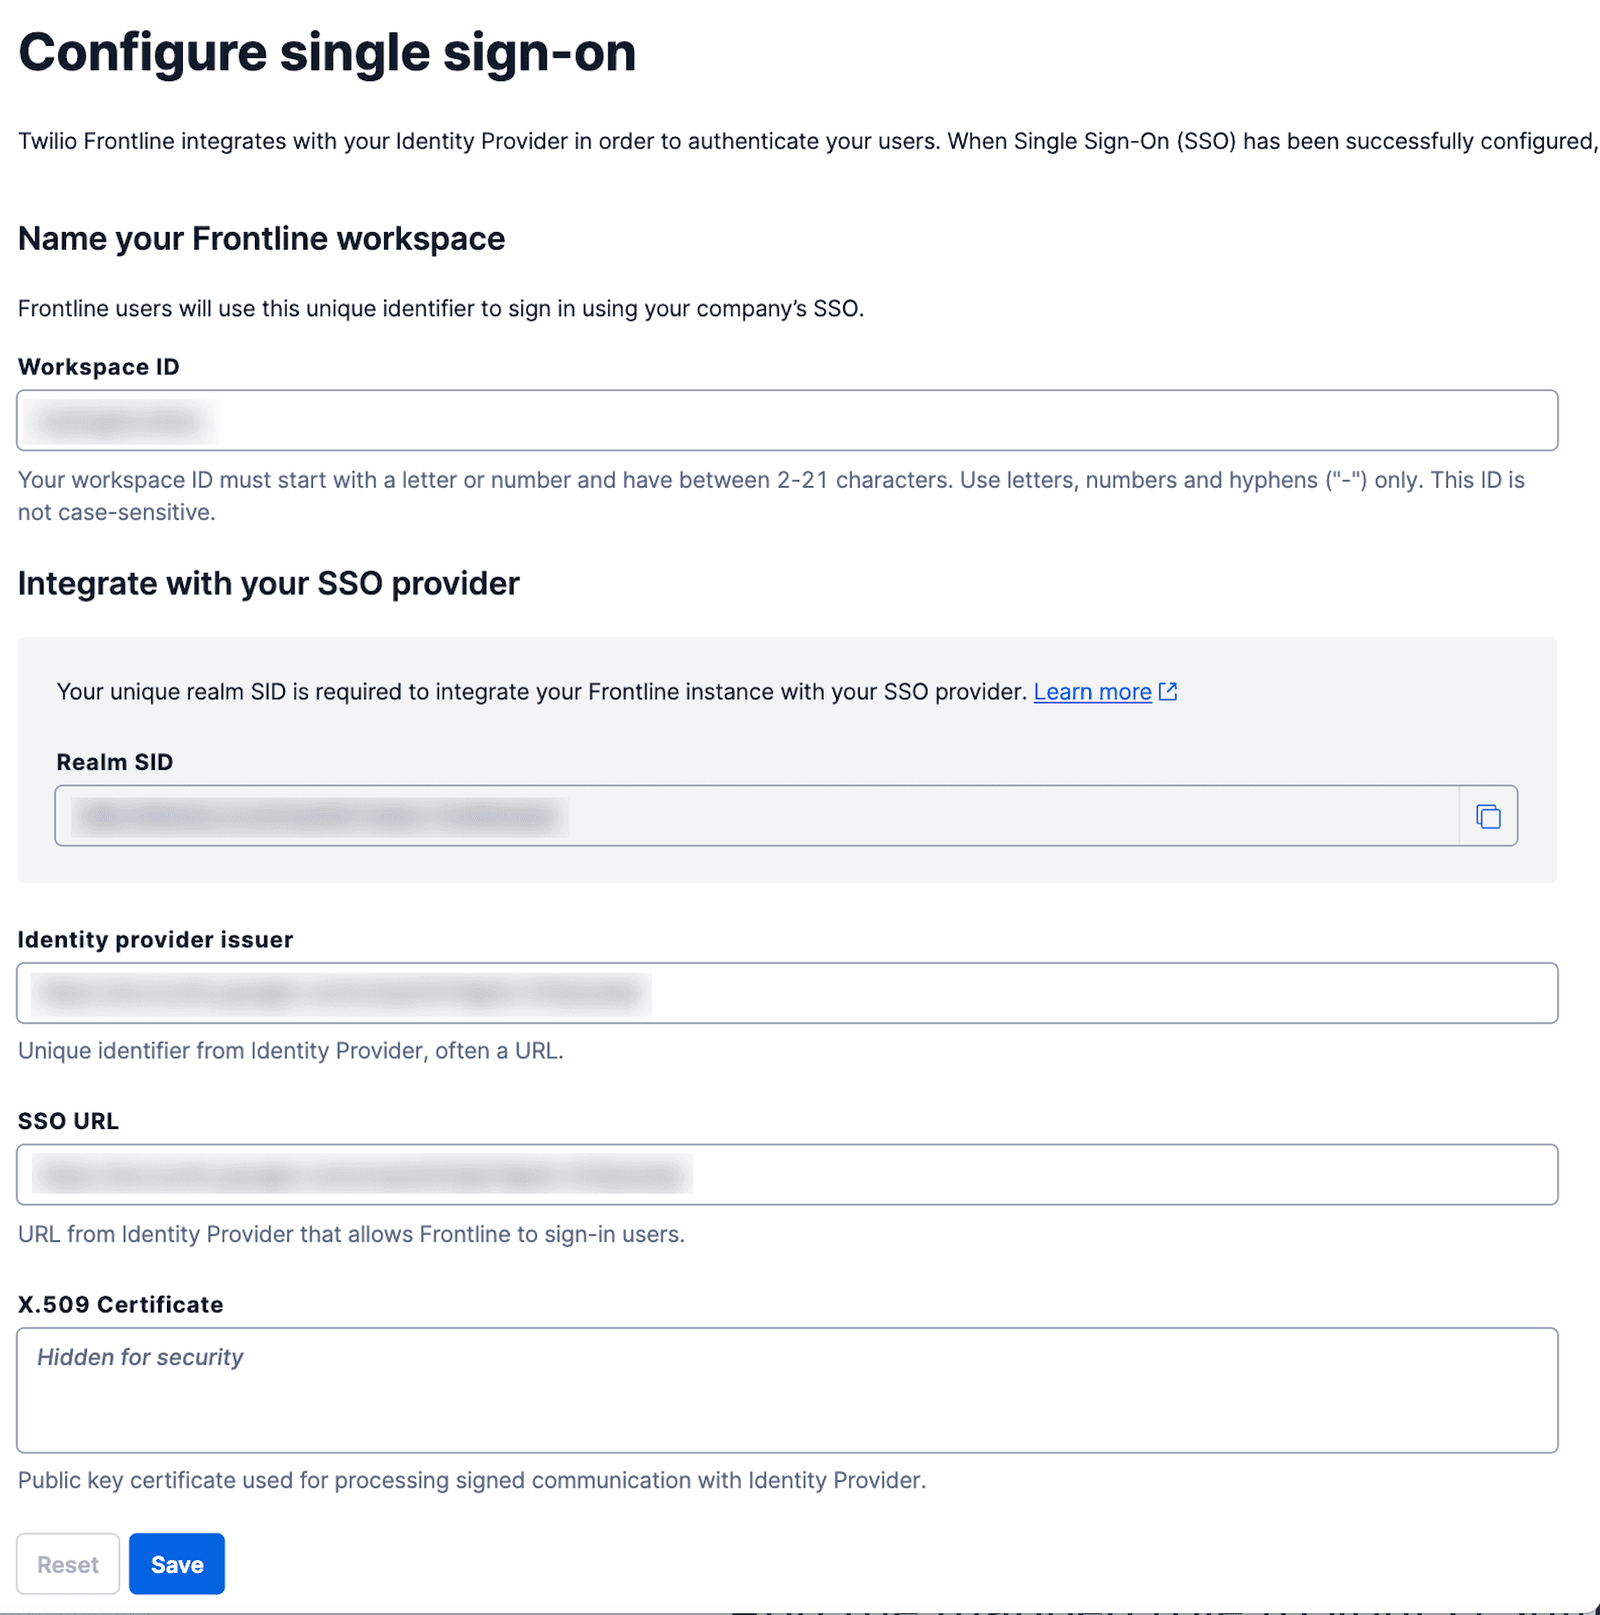
Click the Save button.
Navigate back to the Google Admin Console, and click on Directory > Users. Select a user and click into their User Information section.
Scroll to the attribute name you gave before, in this example it's Frontline, and click the edit icon to add agent as the role for the user.

Click on the Save button.
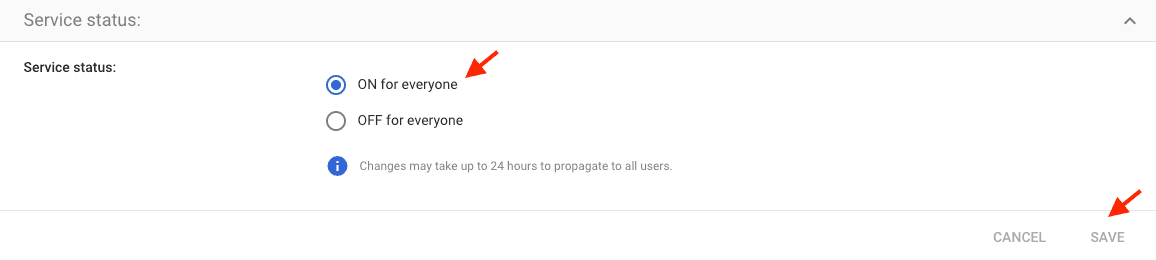
In the Google Admin Console, go to Apps > Web and mobile apps > FrontlineSSO (or to your application's name) > User access. In the Service status section, select the ON for everyone option and click the Save button.
Now, you should be able to log into Frontline using Google as the identity provider! 🎉
The error above indicates that the service is not enabled for a user. To solve this problem, you need to enable the Service status to "ON for everyone", as it is described here.
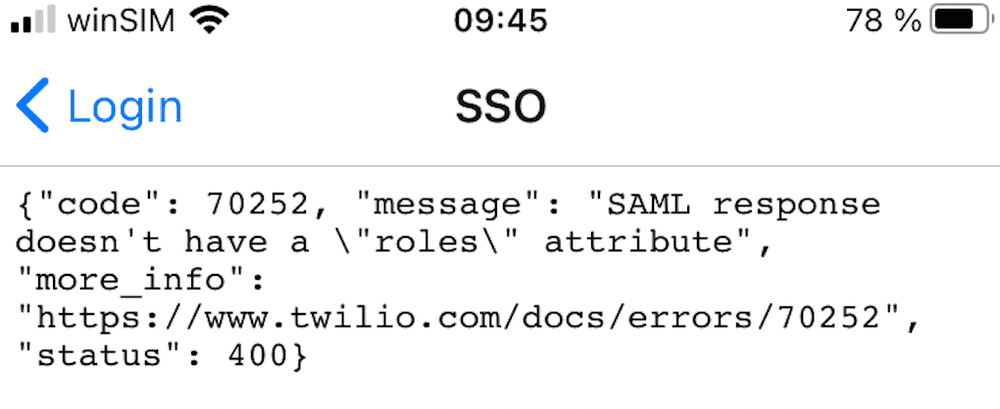
For this error message, the solution is to update the User Information and add the agent role to the user, as it is described here.