Configure Azure Active Directory with Frontline
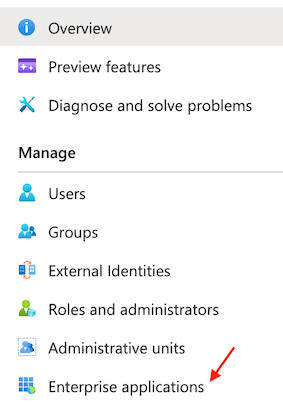
In the Microsoft Azure Portal, select or search for Azure Active Directory, then select Enterprise Applications from the left navigation bar.
Select + New Application and choose Create your own application. Give your Application a name.

Click the Create button.
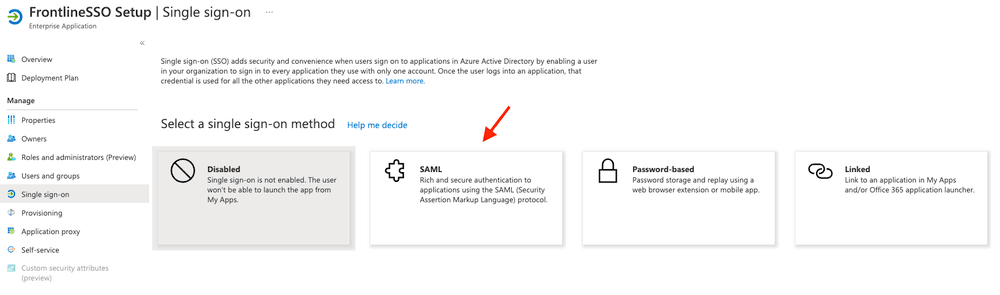
Once your application has been created, select Single sign-on from the Application menu and pick SAML as the sign-on method.
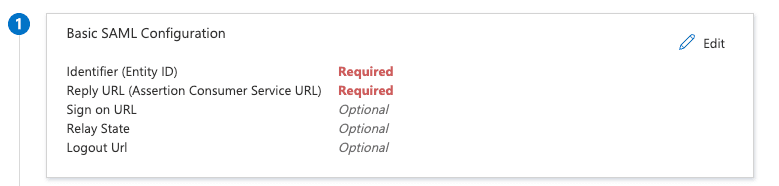
Select Basic SAML Configuration and click Edit.
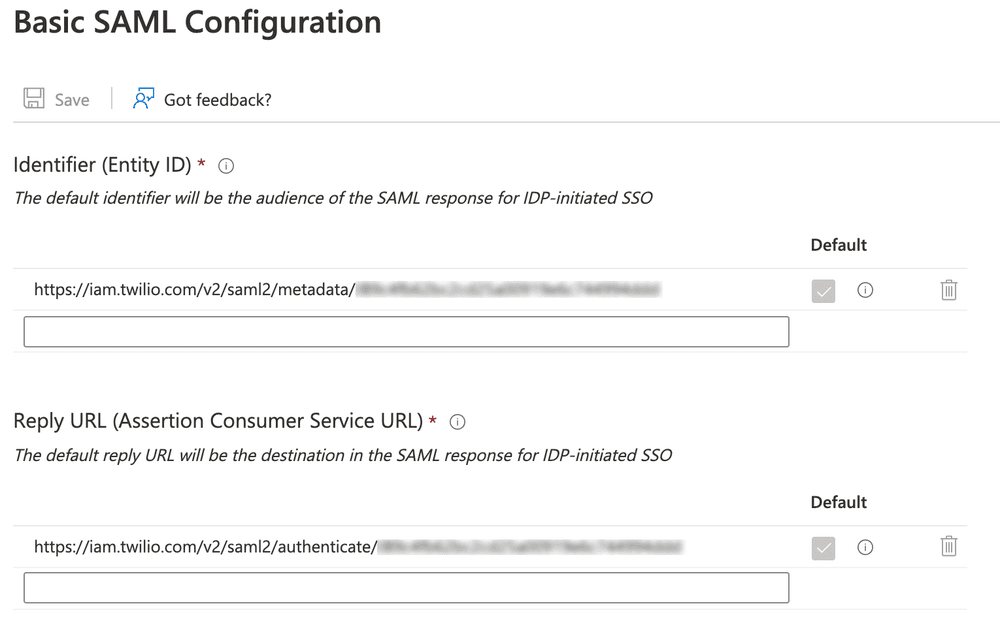
Edit settings as follows:
- Set your Identifier (Entity ID) to
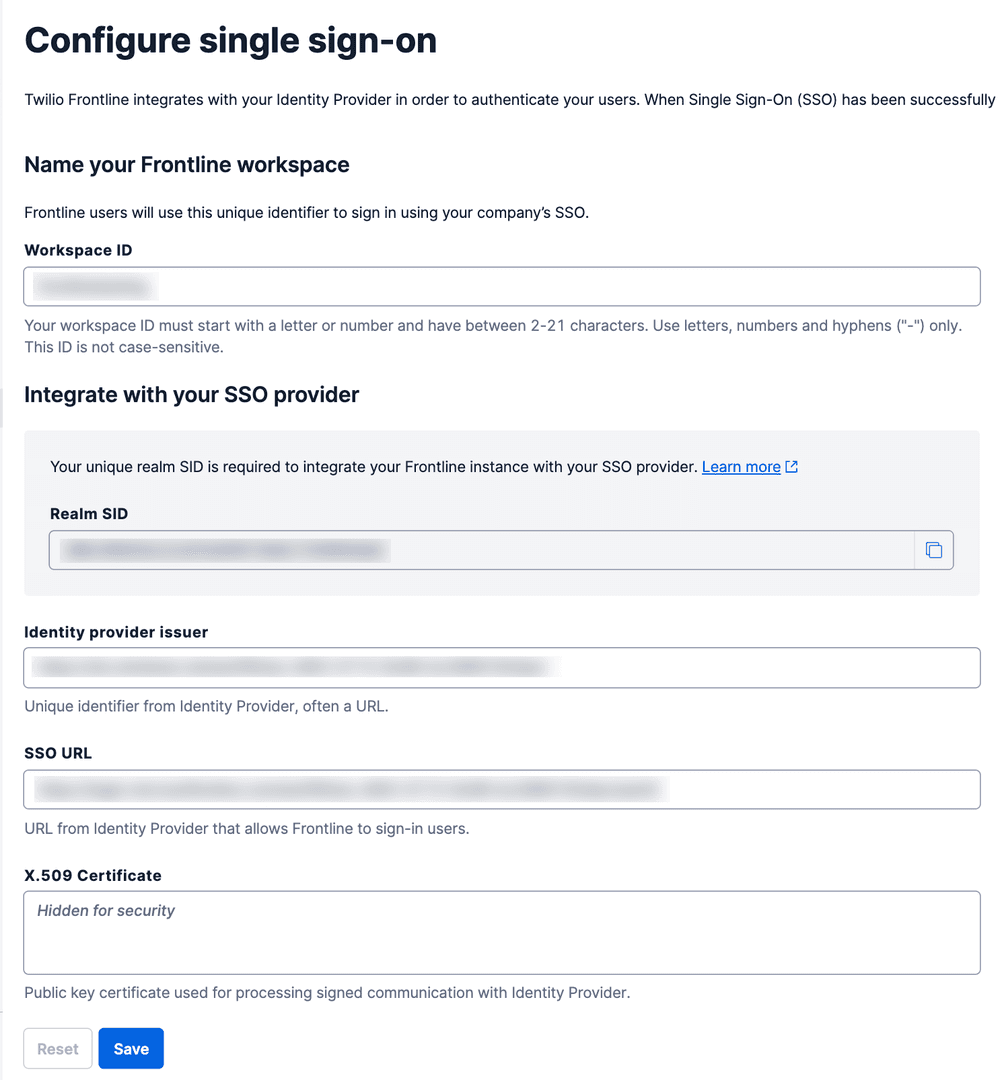
https://iam.twilio.com/v2/saml2/metadata/JBxxx. Remember to replaceJBxxxwith your Twilio Realm SID, which you can find on the Frontline Console SSO configuration page - Set your Reply URL (Assertion Consumer Service URL) to
https://iam.twilio.com/v2/saml2/authenticate/JBxxx. Remember to replaceJBxxxwith your Twilio Realm SID, which you can find on the Frontline Console SSO configuration page
Click Save.
Under point 3 - SAML Signing Certificate, click edit and change the Signing Option to Sign SAML response and assertion. Leave SHA-256 as the Signing Algorithm.
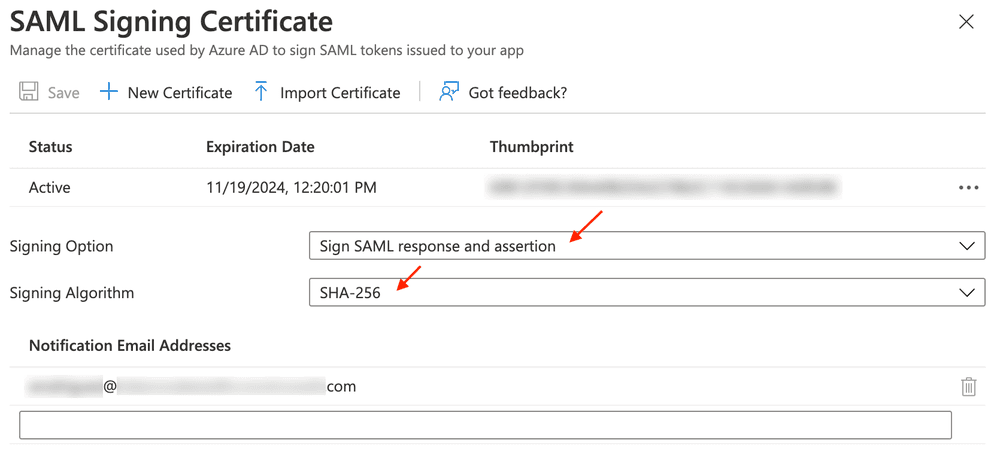
Click Save.
From the Enterprise Applications section of the Azure website, click the FrontlineSSO Setup app and click the Single Sign-On heading in the left navigation bar, then click Edit on Attributes & Claims.
Add the following claims using Attributes as the source.
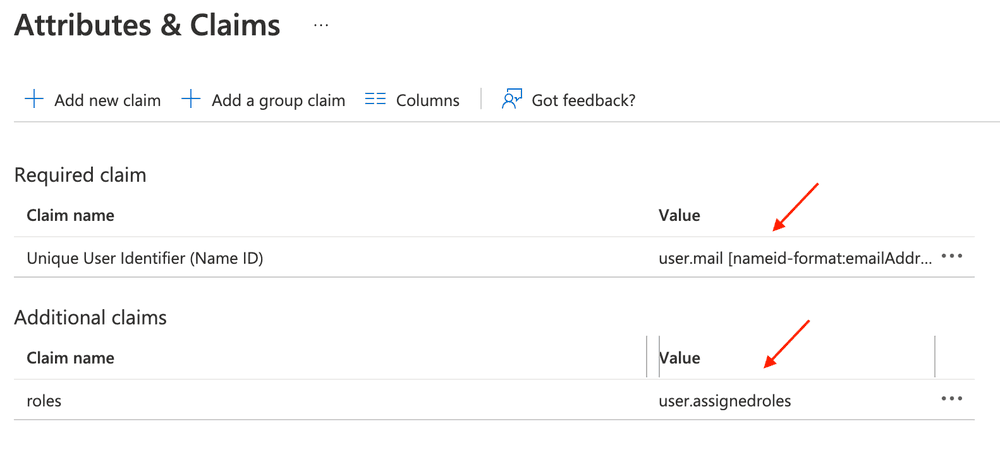
Click Save.
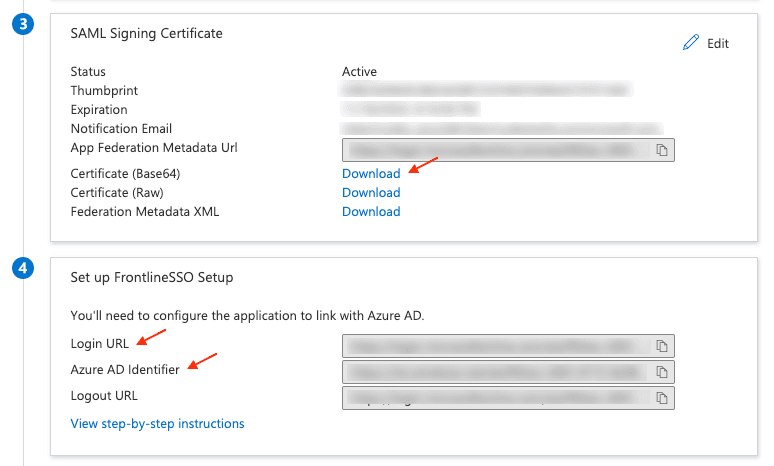
- Download the Base64 Certificate - this will be added to the Twilio Frontline Console as X.509 Certificate.
- Make a note of the Login URL - this is the Single Sign-On URL in the Frontline Console.
- Make a note of the Azure AD identifier - this is the Identity Provider Issuer in the Frontline Console.
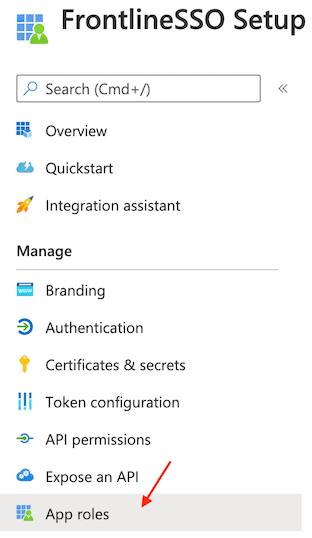
In Azure Active Directory, navigate to App Registrations > All applications. Click on your app (i.e. FrontlineSSO Setup) and go to the App roles heading in the left navigation bar.
Click the User display name and add the Frontline-specific app role.
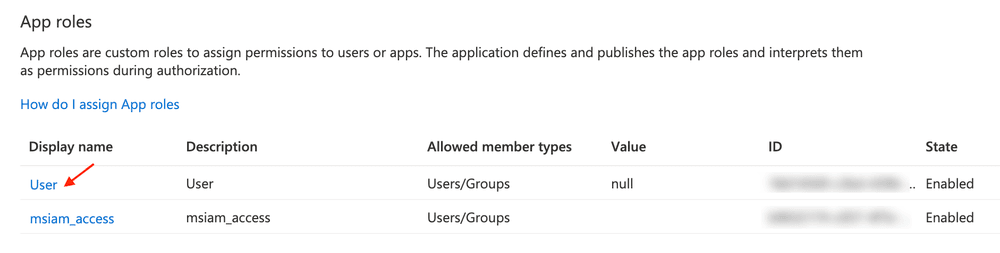
Replace the display name with Agent, select Users/Groups as allowed member types, add agent as a value and a Frontline user as a description.
Click on the checkbox to enable this App role. Click Apply to save the changes.

Navigate back to your Application Overview page, and select Users and Groups. Click + Add user/group section.
In the Add Assignment page, click Users and groups and select the user you want to assign to the application. Click Select.
Then, click Select a role and click on agent. Next, click the Select and Assign button.

Please ensure that you have users assigned to your Application.
Use the details gathered in the Save Application information and copy details section and add them to your SSO configuration on the Frontline Configure single sign-on page in the Twilio Console.
Now, you should be able to log into Frontline using Azure Active Directory (Azure AD) as the Identity provider 🎉