Twilio Frontline Serverless Quickstart
Warning
A Frontline app cannot co-exist with a Flex app in the same Twilio Project. If you want to run both Flex and Frontline, you'll need to create separate Twilio projects for each.
Twilio Frontline is a mobile-first programmable omni-channel communication application that allows deskless employees to securely connect with customers, anywhere at any time.
This Frontline Quickstart uses Twilio Functions, a serverless environment, to host a pre-built backend integration service in Node.js, which connects to the Frontline interface and implements core features of routing and connecting contact data on your Twilio account.
In this Quickstart, you will:
- Sign up for or login to a Twilio account that has an SMS-enabled phone number
- Create a new Frontline instance on your account
- Configure Twilio Conversations
- Configure Single Sign-On (SSO) so you can log in to the app securely
- Deploy the Frontline Integration Service using Code Exchange
- Download the Frontline Mobile App
- Log in to your Frontline workspace
Let's get started!
Before you can test Frontline, you'll need to sign up for a Twilio account or log in to your existing account.
Info
If you'd like to integrate Voice functionality into your Frontline Mobile Application, you will need to have a Twilio phone number with voice capabilities and configure the Voice calling functionality in the Frontline Console.
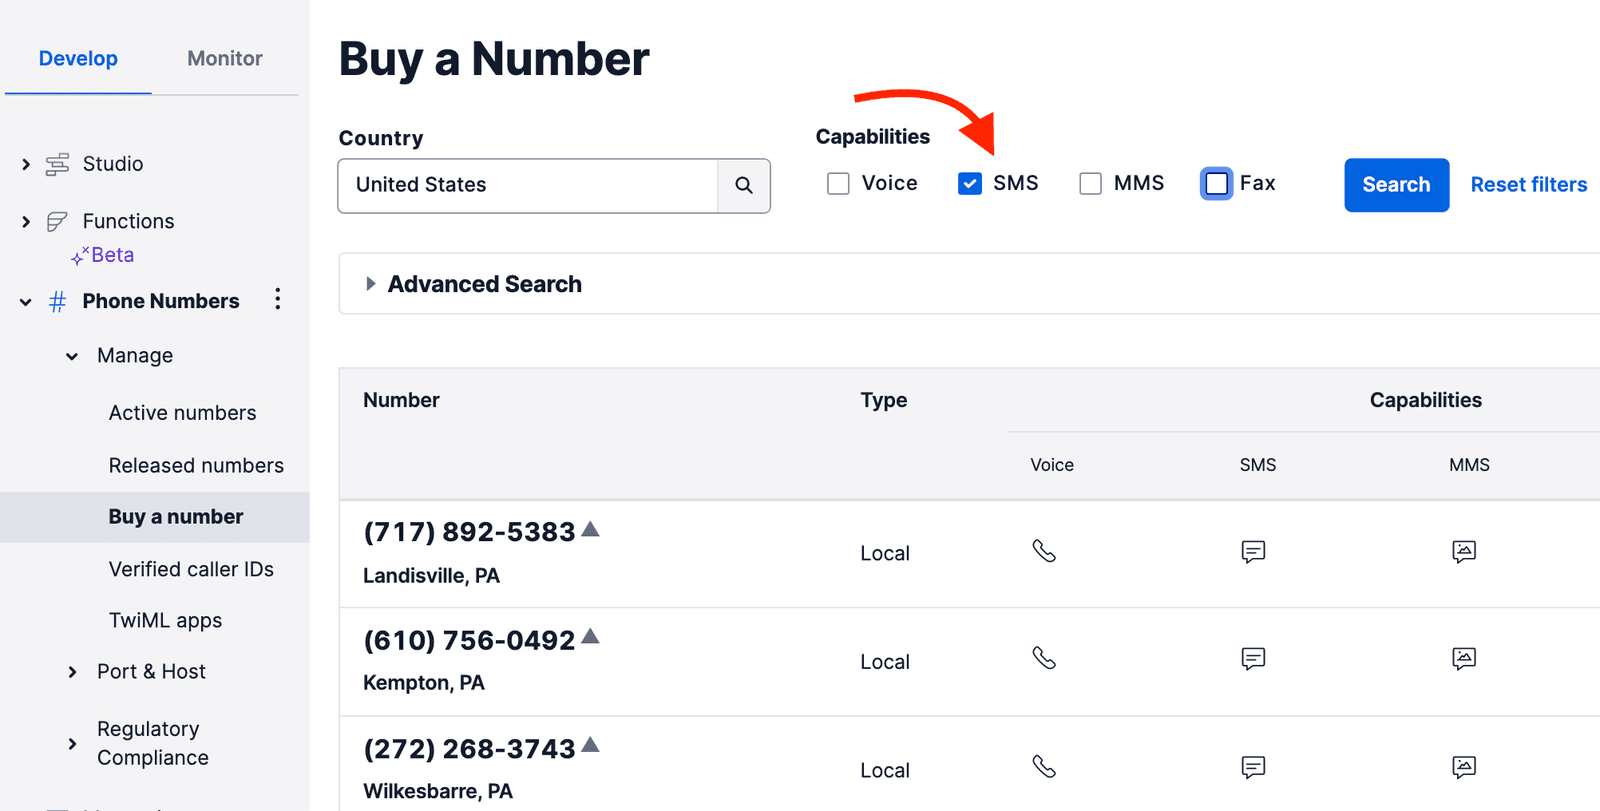
First, purchase an SMS-capable phone number. After navigating to the Buy a Number page in the Twilio Console, make sure the SMS box is selected, then click Search.
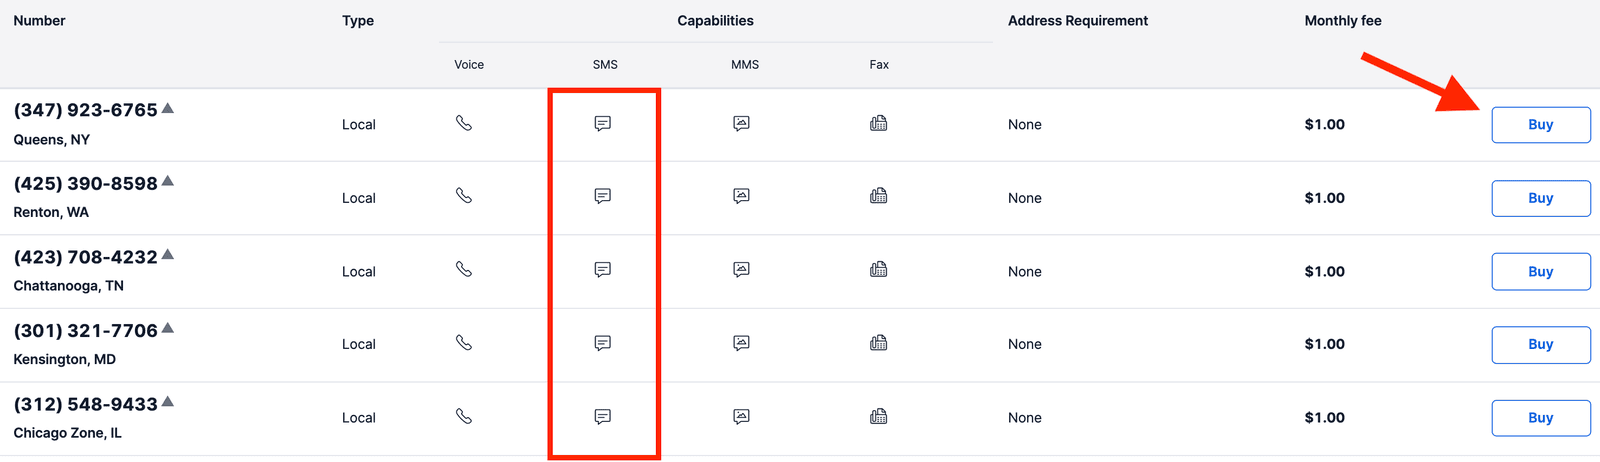
You'll then see a list of available phone numbers and their capabilities. Find a number of your choice and click Buy to add it to your account.
Before adding Frontline, let's make sure your Twilio account is part of an Organization (this is a requirement for Frontline). To verify, please refer to the Organizations documentation.
If your account is not part of an organization yet, click Create an Organization in the Twilio Console. Fill out the form and click the Create Organization button.
Now that you have a Twilio account, an SMS-capable phone number, and your account is part of an Organization, you're all set to create a Twilio Frontline instance on your account!
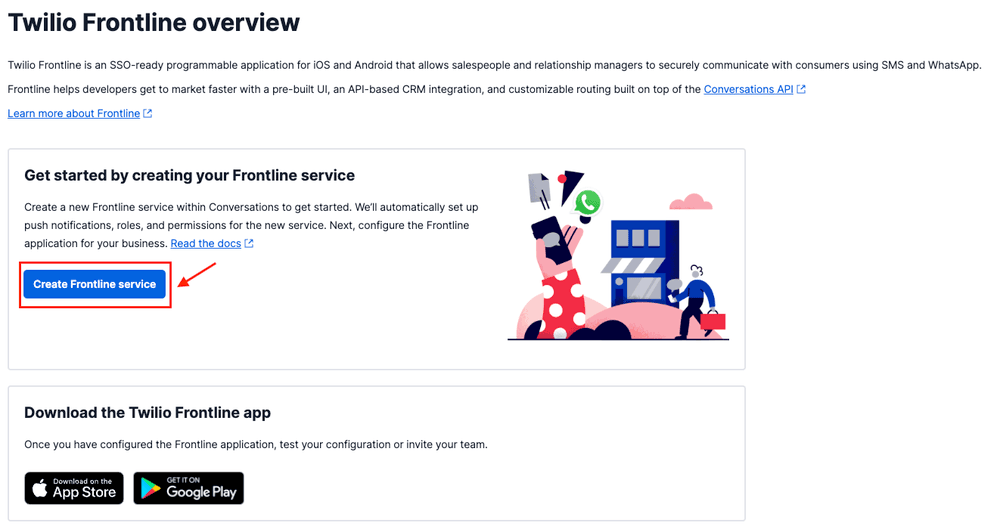
Navigate to the Frontline section of the Twilio Console and click on the Create Frontline service button. If you don't see Frontline listed in your Twilio Console, go to Explore Products and under the Solutions section select Frontline. Click on the pin icon to keep Frontline on your sidebar navigation.
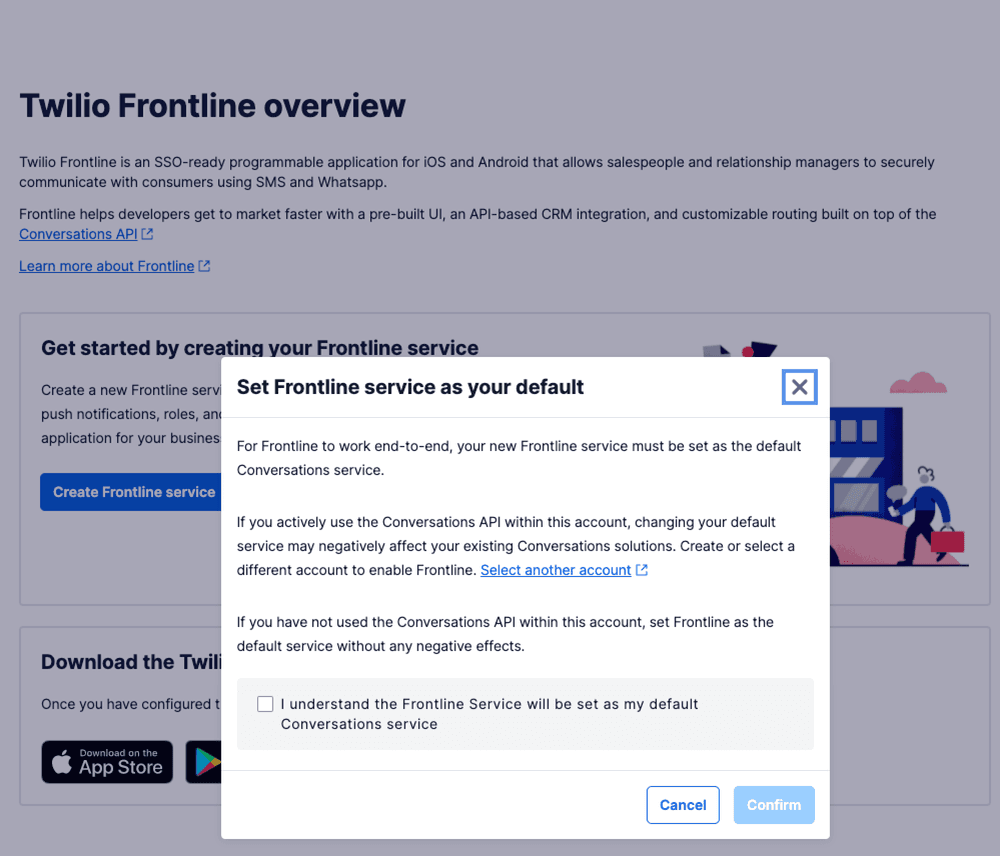
You'll see a pop-up that asks if you want to set Frontline services as your default Conversation service. Select the checkbox and then click the Confirm button.
Info
Frontline is built on top of Twilio Conversations API. For more information, please see the Conversations Fundamentals guide.
Now that you've created a new Frontline instance, let's configure Twilio Conversations with the phone number you selected earlier. For these steps, you'll be navigating between the Conversations and the Programmable Messaging sections of the Twilio Console.
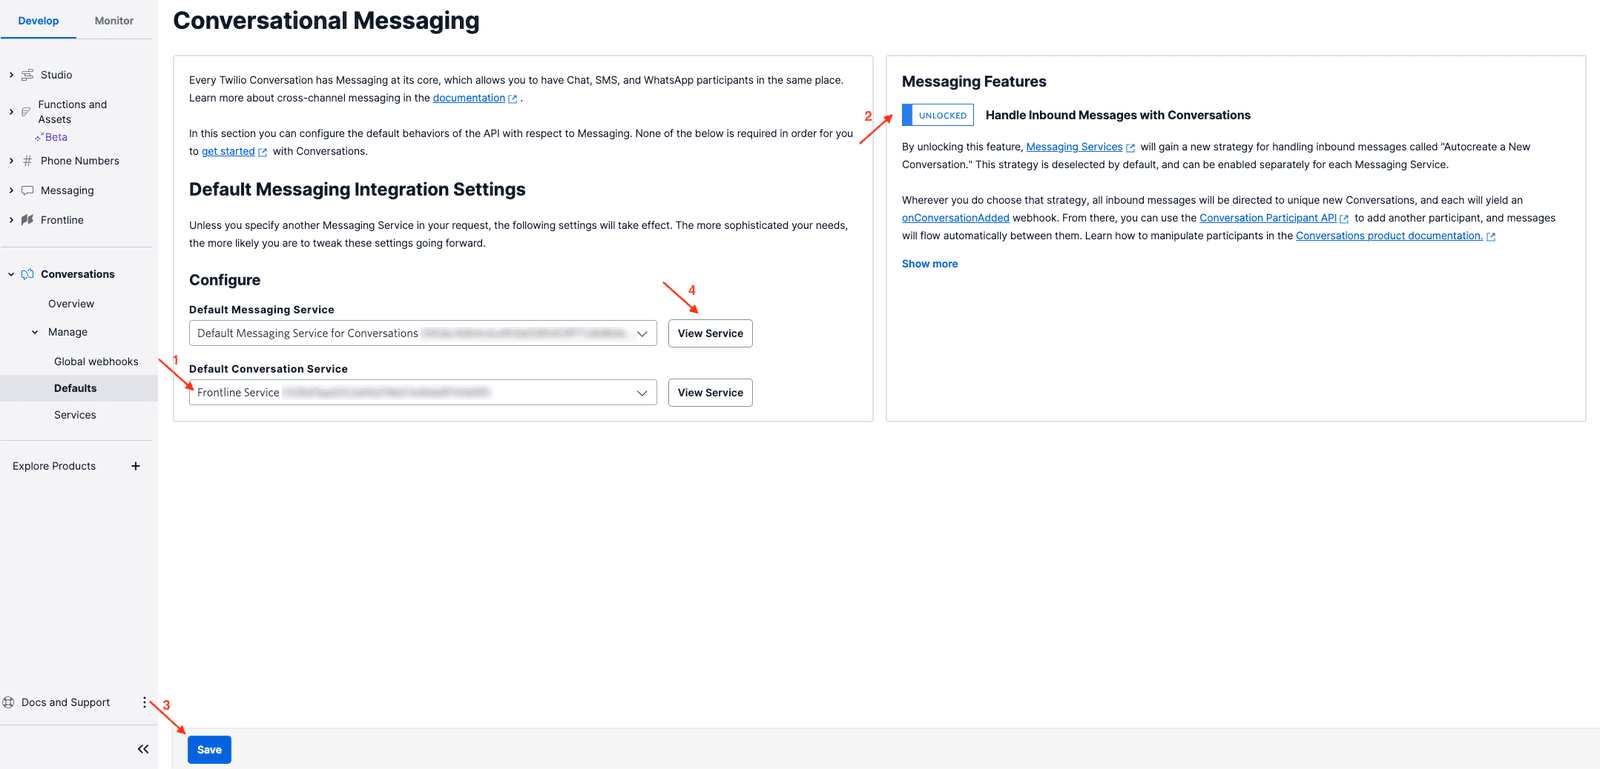
- Navigate to Conversations > Defaults.
- From the Default Conversation Service dropdown menu, ensure Frontline Service is selected.
- Unlock the Handle Inbound Messages with Conversations feature with the toggle button. Importantly, click the Save button to apply the new settings!
- After that, click on the View Service button next to the Default Messaging Service dropdown menu to navigate to the Default Messaging Service configuration page.
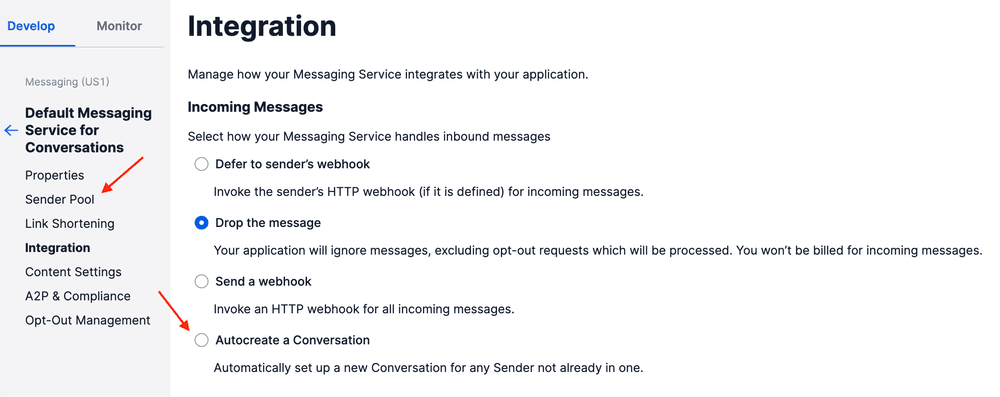
Under the Programmable Messaging > Default Messaging Service for Conversations page, follow these steps:
- Click the Autocreate a Conversation setting.
- Importantly, save the new settings by clicking the Save button.
- Click Sender Pool from the sidebar.
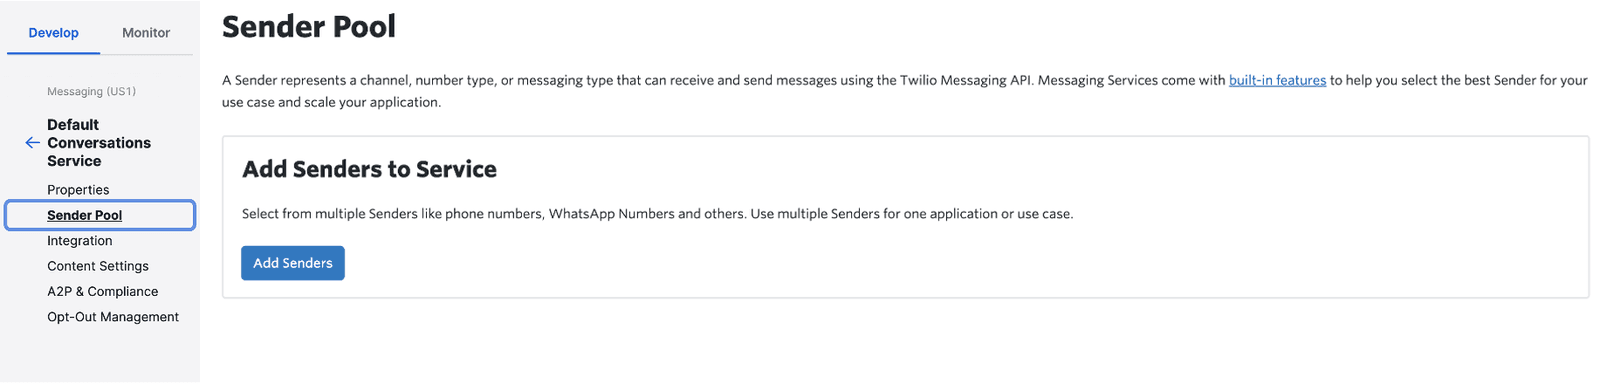
On the Sender Pool page, click the Add Senders button.
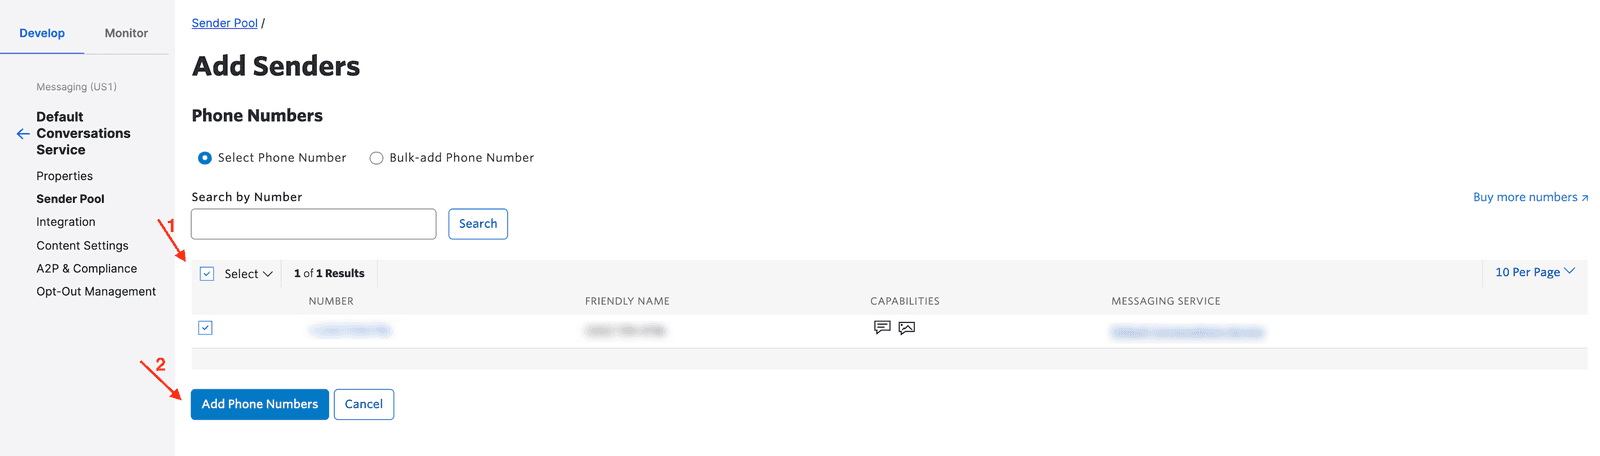
Select the Phone Number for the Sender Type and click Continue. Then, select the phone number you purchased at the start of this guide and click Add Phone Numbers.
Now that we have a Twilio account, a programmable phone number, and Twilio Conversations all set up, let's configure the Frontline Integration Service and Single Sign-On, so that you can securely log in to Frontline.
Info
You can use any of these identity providers: Okta, Salesforce, Google or Azure AD to configure SSO with Frontline.
To securely log in to Frontline, you'll need to configure single sign-on. To set up SSO, follow this guide to create an Okta web application and configure it. Come back to this Quickstart when you're done.
Note: As part of the SSO configuration, you will name your Frontline instance with a Workspace ID in the Twilio Console. Take note of this Workspace ID, because you will use it later to sign in to the application.
Frontline requires an Integration Service that provides endpoints to function properly and that will serve as your backend.
You will deploy a pre-built Integration Service for your Twilio Frontline account through Code Exchange that implements all of Twilio Frontline's core features.
Let's get started by deploying the Frontline Serverless Integration Service through Code Exchange. Go to this page and deploy your application as follows:
-
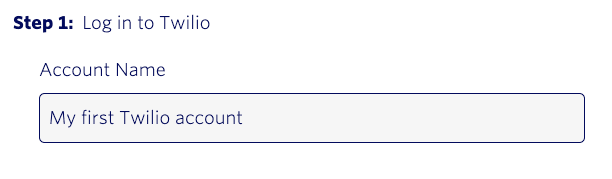
Log in to your Twilio account that you created above.
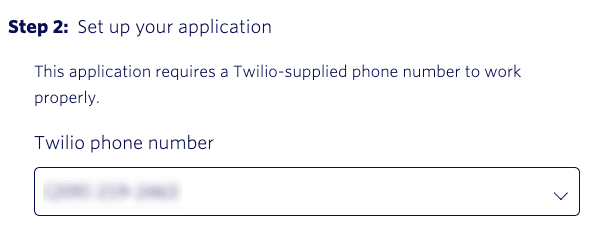
-
Set up your backend application by selecting the Twilio Phone number you want to text from. This is the number you've purchased earlier and represents the number that you will use to text your contacts.
-
Configure your test customers' phone numbers and add your Single Sign-On (SSO) username. In this step, you will add one to two SMS capable phone numbers that you want to text with. These numbers represent your "contacts" in Frontline.
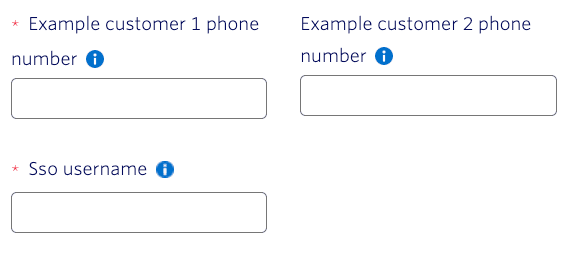
Next, you'll need to add your SSO username. This is the username added to your identity provider (i.e. Okta) when you registered in the application.
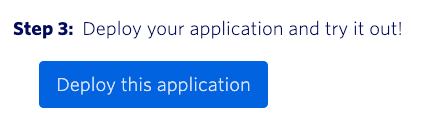
-
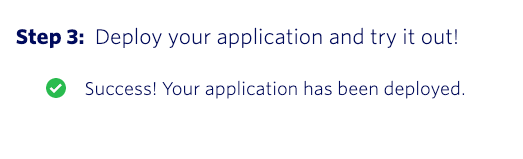
Click on the Deploy this application button to deploy the Node.js Functions to your Twilio Console.
Once the Functions have been successfully deployed, you'll see the following message:
-
Next, click on Go to live application and follow the steps on the live application page to configure the Integration Service callbacks in your console.

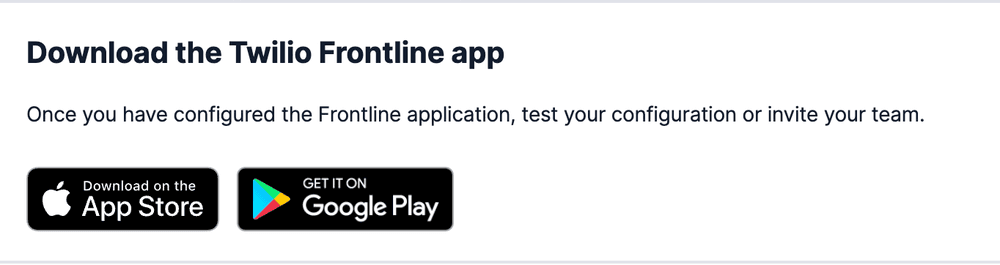
Well done! You finished the Frontline Integration Service configuration. Now, you can download the Twilio Frontline application and log in to it.
To download the Frontline application to your mobile phone, you can navigate to the Twilio Frontline overviewsection in the Twilio Console, scroll down and download the application on App Store or Google Play Store.
To log in to the Frontline mobile app, you'll need:
- Your workspace ID from the Frontline Console.
- The username and password to your SSO Identity Provider (i.e. Okta, Salesforce, etc.) developer account.
You'll be prompted for your SSO Identity provider credentials - enter the username and password that you used to sign up to your corresponding SSO developer account.
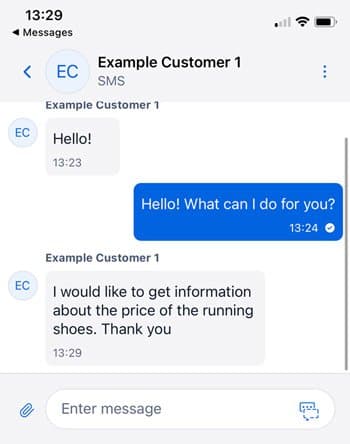
Well done, you've successfully logged into Twilio Frontline and you can start having a fun conversation using the Frontline app! 🎉
You're all set to try out all the core features of Frontline. To continue, check out these other resources:
- Ready to integrate Frontline into your CRM? Build your own backend server-side Integration Service by using this open source repository in Node.js.
- Check out this guide for more information on configuring the CRM Callback URL and customer objects.
- Create your first Conversation in Frontline. Learn how to engage with a customer and send your first message.